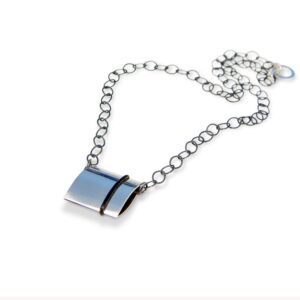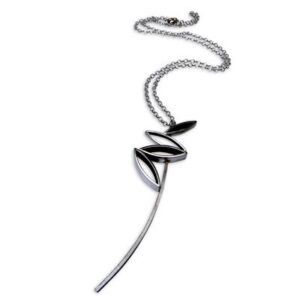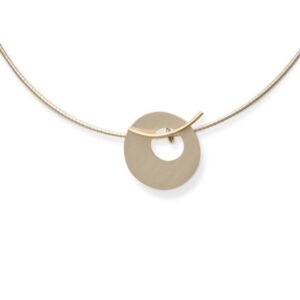
From the first shiver of inspiration to the last polish of a beautiful handmade necklace: there is a lot that goes into the making of any piece of handmade designer jewellery.
That’s why I wanted to explain in a little more detail exactly what happens in the design, and making, of a bespoke wedding ring or a staple pair of silver drop earrings. That way you get to know your chosen companion that little bit better, while I get to talk to you about jewellery design.
Jewellery Making
Design
So you have found your inspiration for a beautiful cuff bracelet, have a commission for a bespoke wedding ring, or have been given a sentimental necklace which you love, but isn’t quite you. Then what?
The celebrated first steps: the sketch.

This is an important part of any design, and one of my favourites: I am always excited by technical challenges. At this stage you should be at your most creative: try out new ideas or reinvent the old. Go crazy, because if things don’t go to plan you can always start again.
Once I have worked and reworked the best designs on paper, decided with my client which to keep, or chosen my favourite; I will start to think about how it will begin to take shape in the studio.
What materials will I use? What processes will be required to work with it? How will it fit on the hand, chest, or wrist? Any last minute design adjustments? Once these imperative questions are answered we’re ready to move onto making the piece by hand.

Creating
One of the pleasures, and challenges, of contemporary jewellery is working with non traditional materials.
Aluminium, for example, is a perfect example of a contemporary material: sustainable yet practical it is able to be transformed into a beautiful array of colours and shapes.
But it is hard to work with and needs to be carefully prepared before anodisation, which itself is a tricky process. But practice makes perfect, and the results are eye catchingly beautiful.
Once the initial preperation is complete I will then create the basic shape of the piece. To do this one key skill that every jeweller should know well: soldiering. Although each material has its own variations but it is basically the same. It takes practice, but once you know how the possibilities are endless.
7 tips for successful soldering
- Make sure your metal is clean.
- The metal joining must be touching.
- Use flux to help the solder flow.
- Concentrate the heat on the metal, not on the solder.
- Quench your work to cool it.
- Pickle to clean away oxside and flux
- Practice, practice, practice.
Then as things start to take shape it is time to apply the finishing. For aluminium this may be oxidation and colour; for gold or silver a high polish; for pearl a quick admiring glance.
When it comes to finishing less is always more.
Wearing
After you have finished your prototype it is important to simply wear your jewellery. Enjoy it.
Then, after living with it for a little while, you’ll be ready to finalise the design.
Once certain of my design choices I will then go back to step one and create a limited run of the new design.

This helps me keep my work sustainable as well as providing my clients with something original and unique.
And that’s it. A very brief overview on the processes involved in the creation of designer jewellery with contemporary techniques and materials. I hope you enjoyed it, learned a little, and maybe have decided that you’d like to have a go making your own.
Very soon I will be putting together a more in-depth article, all bout the creation of a bespoke wedding ring for a client of mine, which I hope may give you some more inspiration.
Thanks for popping by
Helen.


